
The weather is warming up, the crickets and frogs are singing…spring must be close!
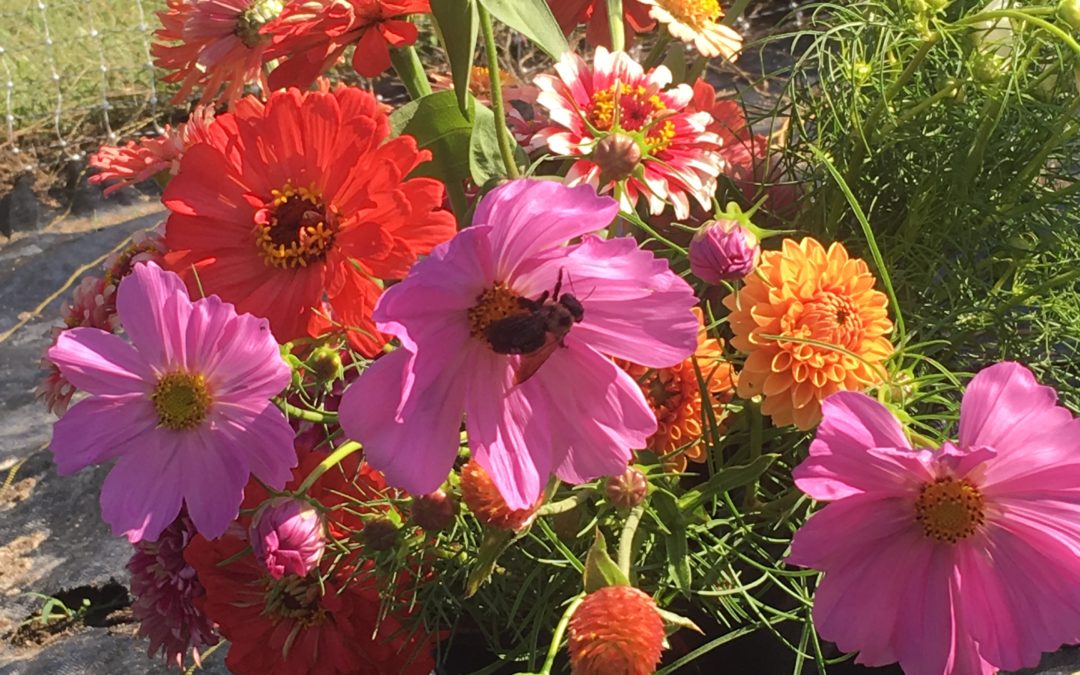
If you are like me, you are finishing up planning your summer cutting garden. It might just be a small bed in front of your house, or several rows in the backyard. However big or small, you can have a cutting garden of your very own! I would recommend to go small your first year and then expand as your confidence builds.
Once you plan for the size of your garden and how many plants you will need, then it’s time to order your cut flower seeds.
You might be wondering, why don’t I just go to my local nursery and purchase some flower transplants?? That would be so much easier than starting my own seeds! Yes, it would, but you know what? They don’t often have varieties that are good for cutting. Most of the time they are better suited for landscaping. Meaning, they are shorter and wider and don’t have the stem length you need for cut flowers.
Here are a few ideas for easy cut flowers to grow: (Yes, the last two are herbs, but they are great foliage in bouquets!)
- Zinnias
- Celosia
- Cosmos
- Sunflowers
- Mint
- Basil
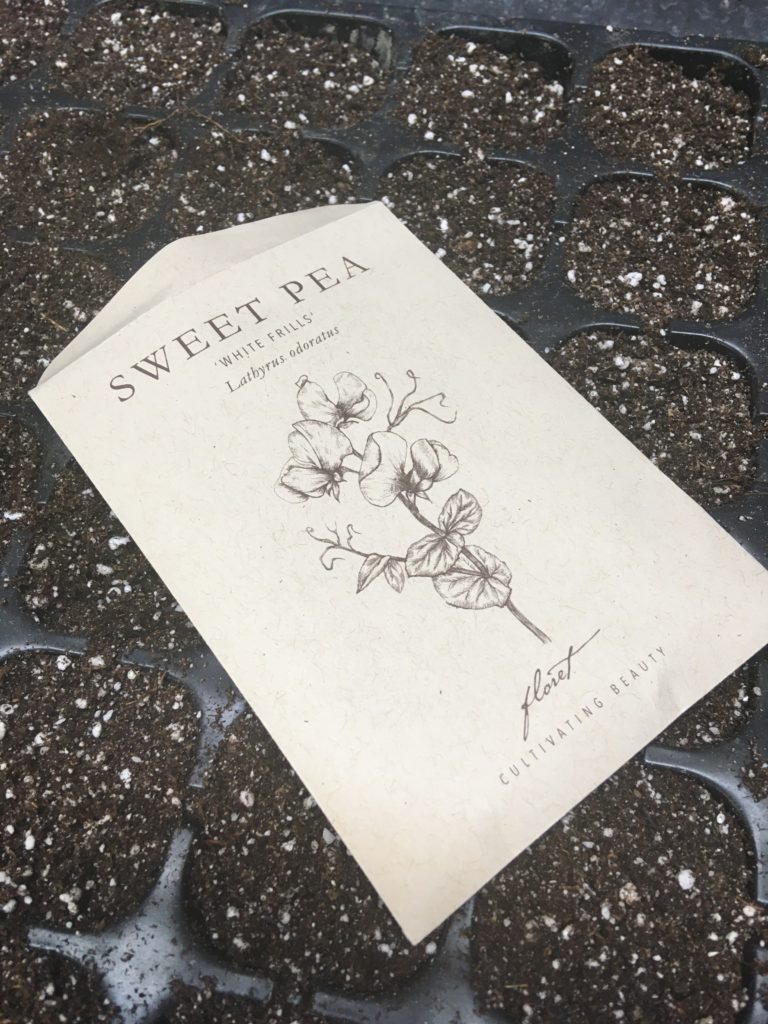
I would recommend purchasing your seeds from Johnny’s Selected Seeds, Baker Creek or Floret. You will be sure to receive ones that are specifically used for cutting, and not landscape use.
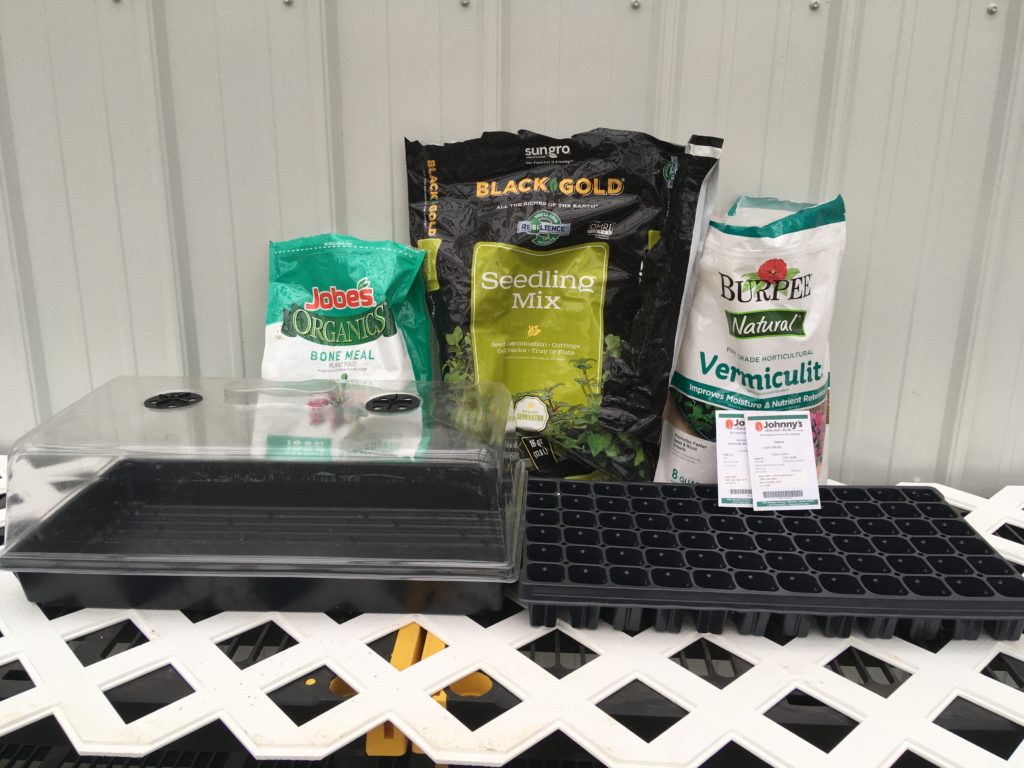
To start your seeds indoors, you will need:
- Shop Lights
- Table
- 72 cell trays
- Bottom trays with no holes
- Seeds
- Germination Mix Soil
- Organic fertilizer
- Water
- Tub for your soil
- Vermiculite
- Dome
- Cup to pour vermiculite
- Plant tags
- Sharpee
- Heat mat
Once you have all your supplies in place, you are ready to start your seeds!
Below is a written step-by-step, but also check out our highlighted Instagram stories to see a video that shows you the whole process.
- Pour soil and recommended fertilizer amounts into a tub. Pour water into the tub and mix soil, fertilizer and water together until soil is moist, but not soggy. Fill your 72 cell trays with soil.
- Read the seed packet for instructions on seed germination. Most seeds will fall under the instructions that I’ve shared with you. Put seeds into your hand and place 2-3 seeds into each tray, pressing them gently into the soil as you go.
- Once all seeds are in the soil, cover the entire tray lightly with vermiculite.
- Make a tag for your tray with the name of the seed and the date it was sown.
- Place trays onto heat mats – the heat mat might be under lights or not, depending if the seed needs light to germinate.
- Fill bottom trays with an inch of water.
- Place domes on top of trays.
- Once 70% of seeds have germinated, move trays from heat mat to under the lights.
- Keep lights only a couple inches above seedlings to prevent the seedlings from becoming too leggy. Move the lights up as the plants grow.
If you have any questions about this process, please reach out to us on our Contact tab!