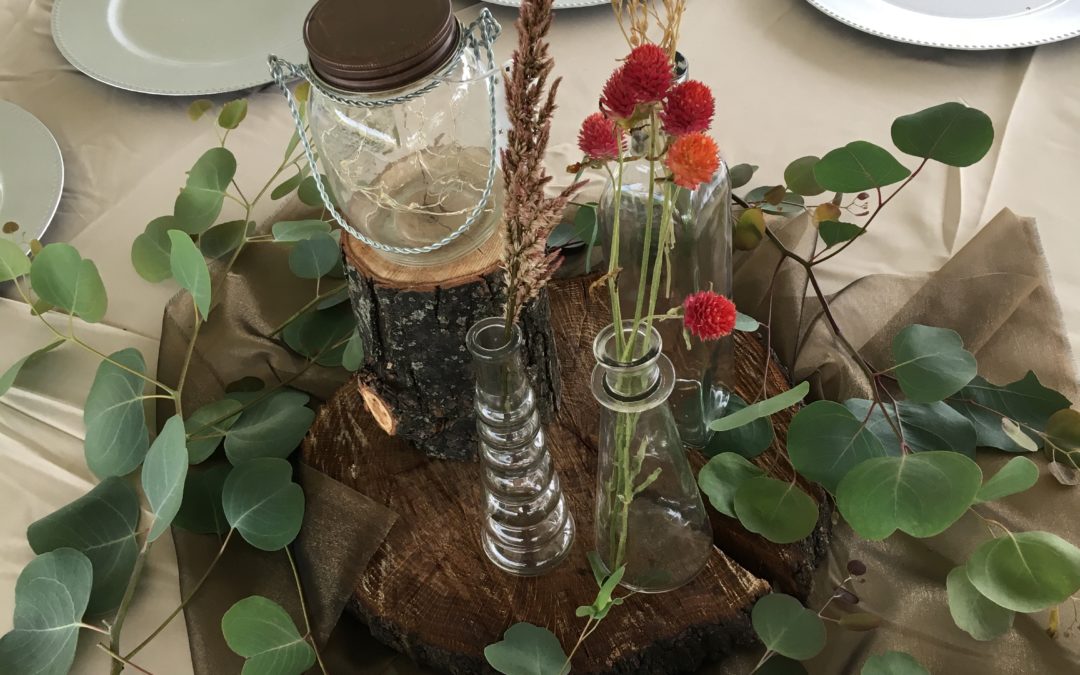
I put together this list based on my own DIY flower experience for my brother-in-law’s wedding. I only have experience with using local, seasonal flowers. I’m not a florist, so these tips come from a real live amateur!
- Connect with your local flower farmer a year in advance, at the same time of your wedding, to see what is blooming. This will give you an idea of the types of flowers that you will most likely be working with for your wedding.
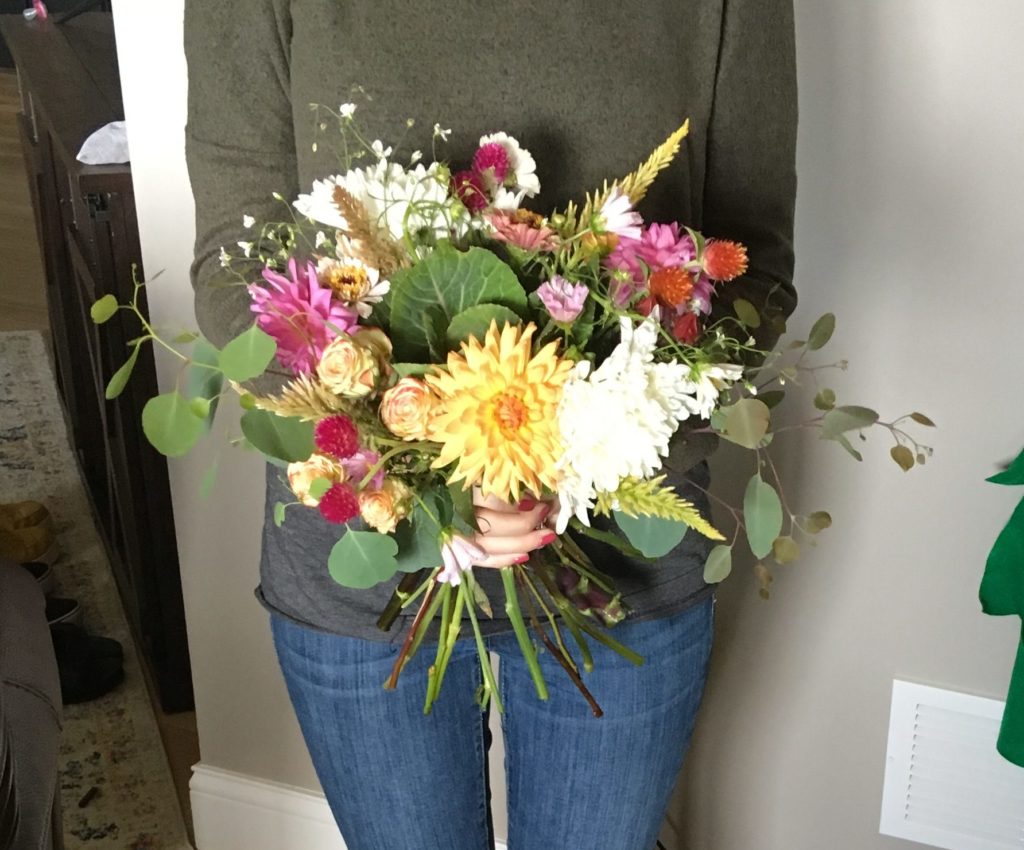
- 2 months out – begin practicing your bouquet and boutonniere/corsage making. Purchase flowers from Sam’s/Costco and forage around for some greenery. Practice once/week every week until the wedding – practice 2 times the week before. This will cut down on your learning curve and you will be much faster!
- 1 month away – create sample centerpieces and any other arrangements that you will need for the day of. Buy cheap flowers to do this. Then, count the number of stems that you used for each arrangement, including bouquets and boutonnieres. Figure out how many total stems you will need for your arrangements.
- 3 weeks out – begin communicating with your flower farmer. Give them an idea of how many bunches (a bunch is 10 stems) that you will need. If you are ok with doing a “Farmer’s Choice” bucket of flowers you can probably get them for a bit of a discount. Be prepared to be flexible. The weather can throw certain flower bloom dates off by several weeks. Just know that whatever flowers you get from your farmer will be much higher quality and more unique than what you can find from a wholesaler.
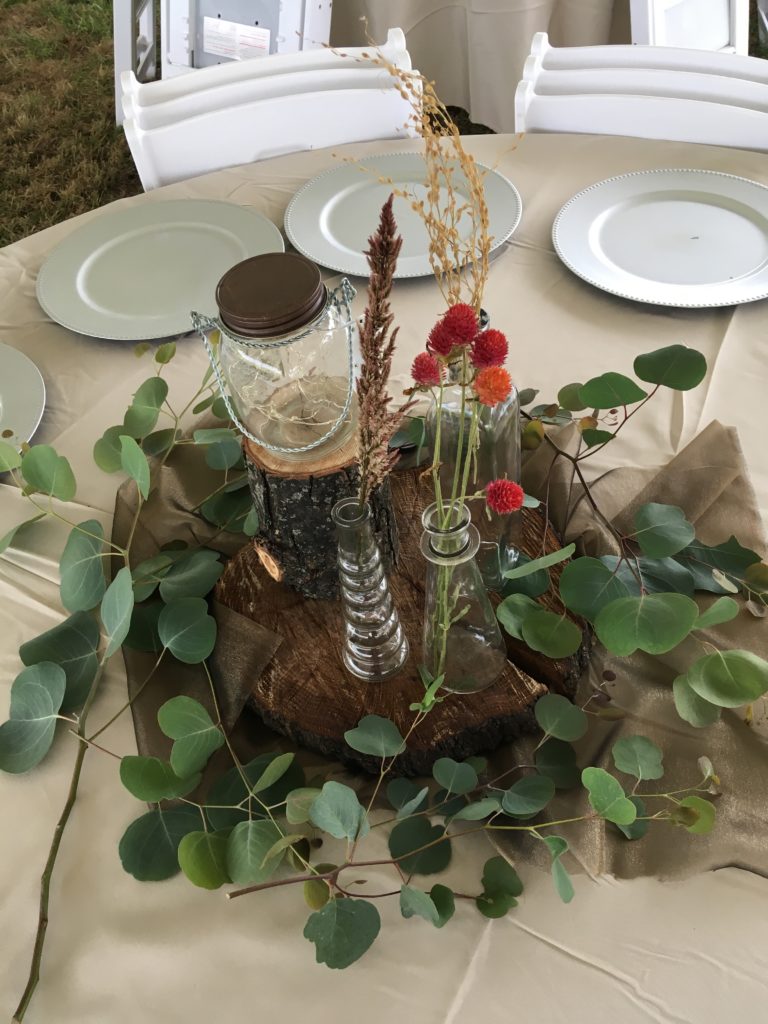
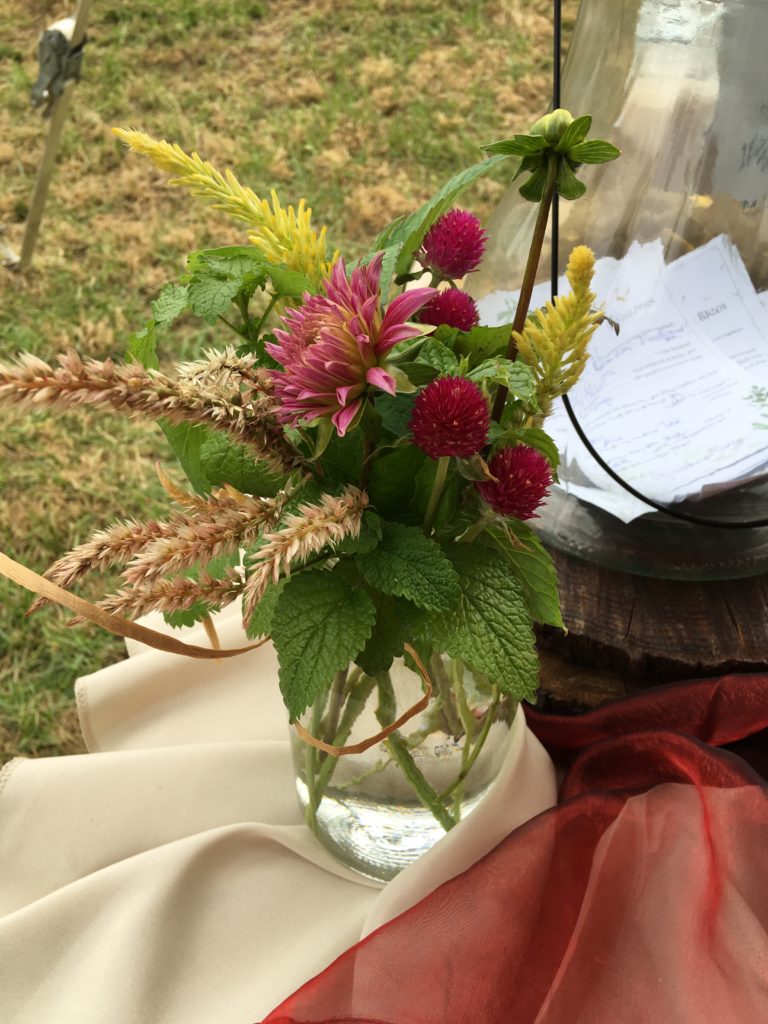
- DRIED FLOWERS! They are back in style! For my brother-in-law’s wedding, we put dried flowers in bud vases and greenery on the tables and called it a day! So simple, but so pretty! Not having to worry about flowers dying or filling up each vase with water was a huge time saver. Don’t be surprised if they cost you a little more, remember that they will last around a year (or longer). A beautiful souvenir to take home!
- Greenery – such a simple way to dress up a table. We put down eucalyptus on the tables for my B-I-L’s wedding and it was perfect. You can even preserve the eucalyptus after and make a pretty wreath!
- Be prepared, you will make a huge mess! I used our basement storage room to create all of the arrangements. This was a good idea because I could close the door and not have to clean up right away. Weddings are hectic, so it was nice to be able to come back and clean up the next day when I had more time.
- Set aside at least 4 hours to create your beautiful arrangements, if you have several helpers. If you are doing it on your own, it might take closer to 6 or 7 hours, and that’s if you’ve been practicing! Remember, greenery and bud vases are your friend! This is time consuming work. If you don’t think you will be able to devote the time necessary, hand over the work to the professionals!
- Read “Fresh from the Field Wedding Flowers” by Lynn Byczynski and Erin Benzakein. This is the ultimate guide to using local flowers at your wedding. I followed the guidance of this book, and watched the tutorials, and felt so confident when preparing for the wedding.
